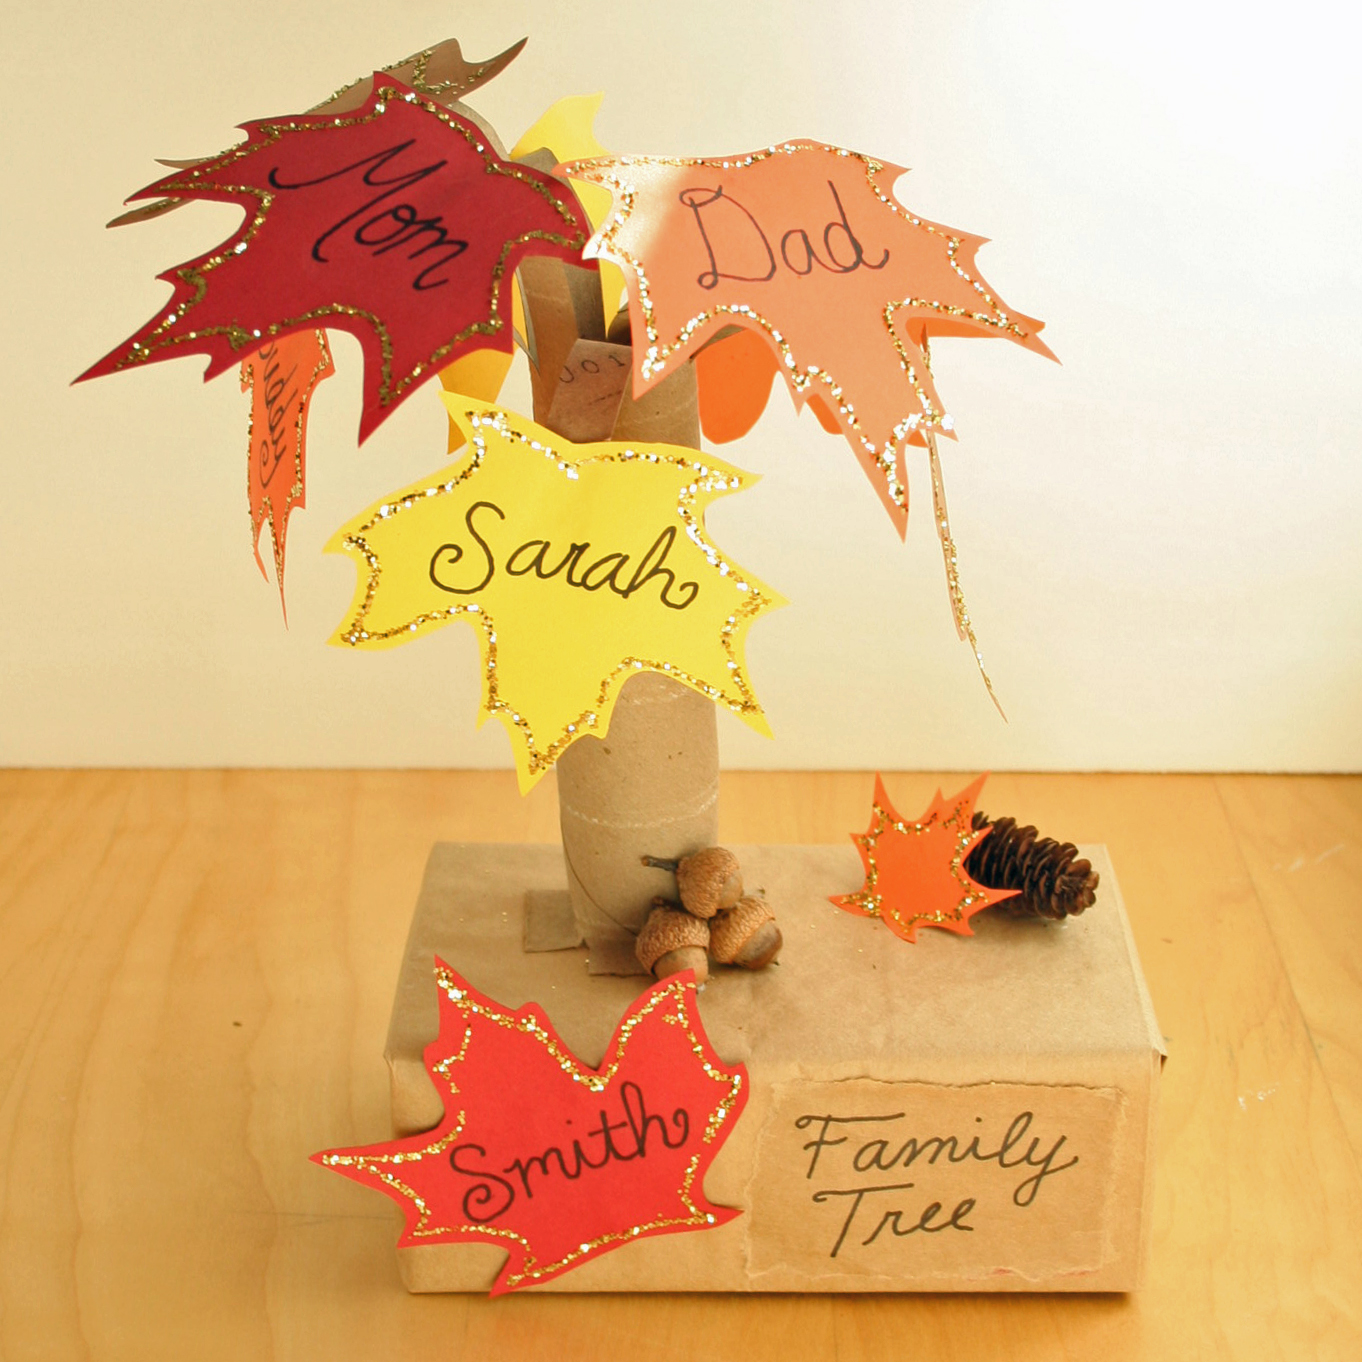
Tree Centerpiece

After months of sticky, humid air, everyone’s ready for some cool weather and fun fall activities – jumping in leaves, apple picking and snuggling fireside in fluffy hoodies to name a few! On a day that’s a little too cool or wet to be outside, try this easy and fun leaf craft using simple household items. Crafts are a great way to bond, practice motor skills and decorate your home for the holidays!
Materials:
All the materials you need are below. Most everything can be found around the house or at your local store. Get creative, improvise and let us know what works for you!

• Colorful leaves, pine cones and chestnuts
• You can also cut out leaves from construction paper
• Paper towel roll
• Glue
• Tape
• Small cardboard box
• Brown paper bag
Step 1 – The Base:

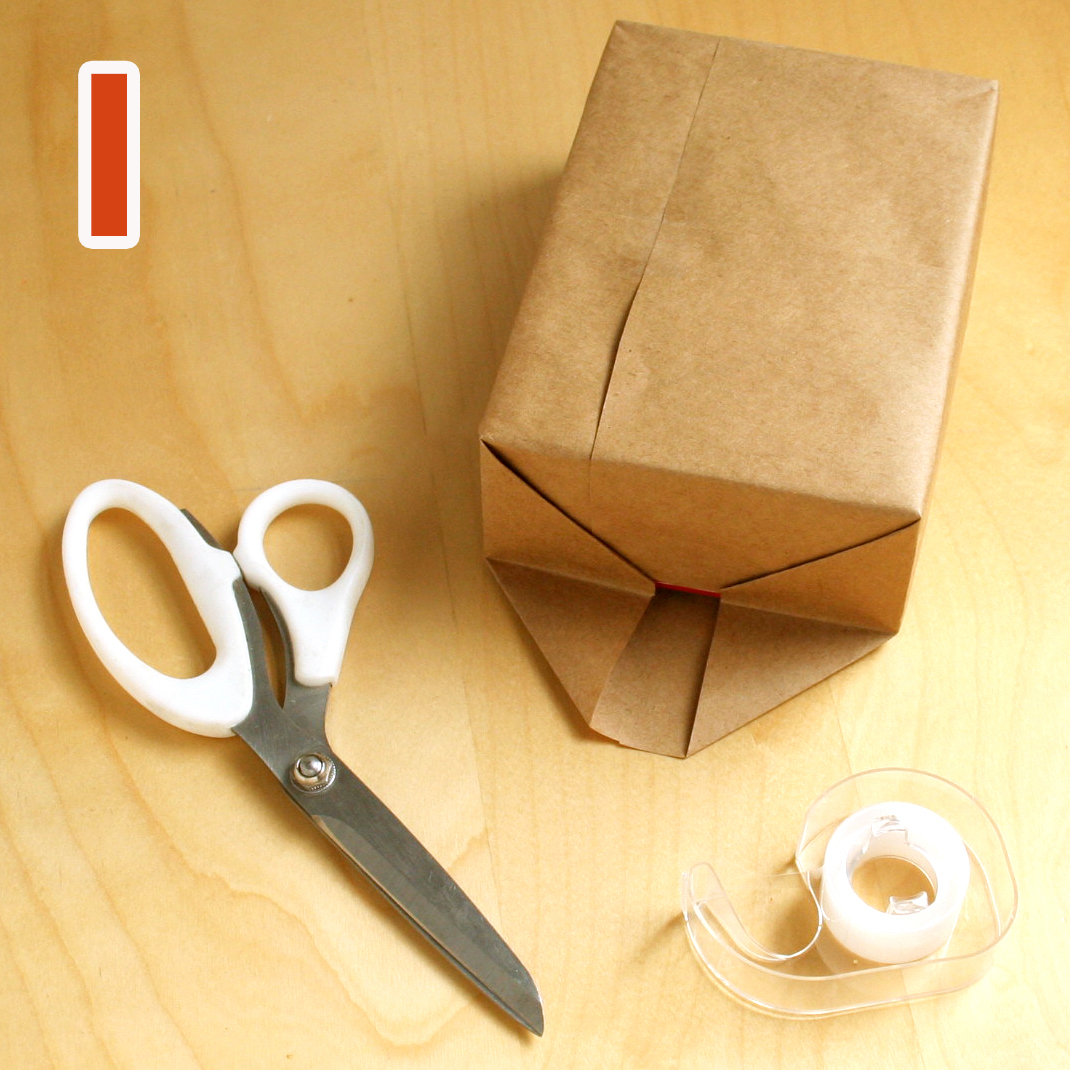
Wrap your small cardboard box in a brown paper bag (like a present), and tape the ends securely.
Step 2 – The Tree:

Cut slits into one end of the paper towel roll to create branches – these should be a couple of inches long and curl out slightly. Cut four short slits into the other end, folding each flap out completely.
Step 3 – The Leaves:

Glue the tree to your small box using the short flaps you created in step 3. Once dry and secure, glue leaves onto the branches!
Step 3 – Decorate:


Decorate the base of your box with chestnuts, pine cones or other materials. Consider adding glitter to your leaves, or writing something or someone you’re thankful for on each one!
Leaf Wreath

When leaves change color and begin to fall, kids love to stomp and crunch leaf piles, kind of like dinosaurs! But stomping and crunching isn’t all that leaves are good for – you can also get creative with them. This colorful wreath craft is a great reason to explore the neighborhood and learn a bit more about the seasons, weather and local plants. You can also feature any plants that you find in your area as a celebration of your local vegetation. So, take advantage of the scenic fall weather and get crafty!
Materials:
All the materials you need are below. Just like the craft above, everything can be found around the house or at your local store.

• Colorful leaves, pine cones and acorns
• Paper plate
• Glue
• Scissors
• String
Step 1 – The Wreath:

Poke a hole in the center of your paper plate. With your scissors, start cutting from the center out to the edge of the plate, stopping when you’re about two inches from the outside edge.
Step 2 – String for Hanging:

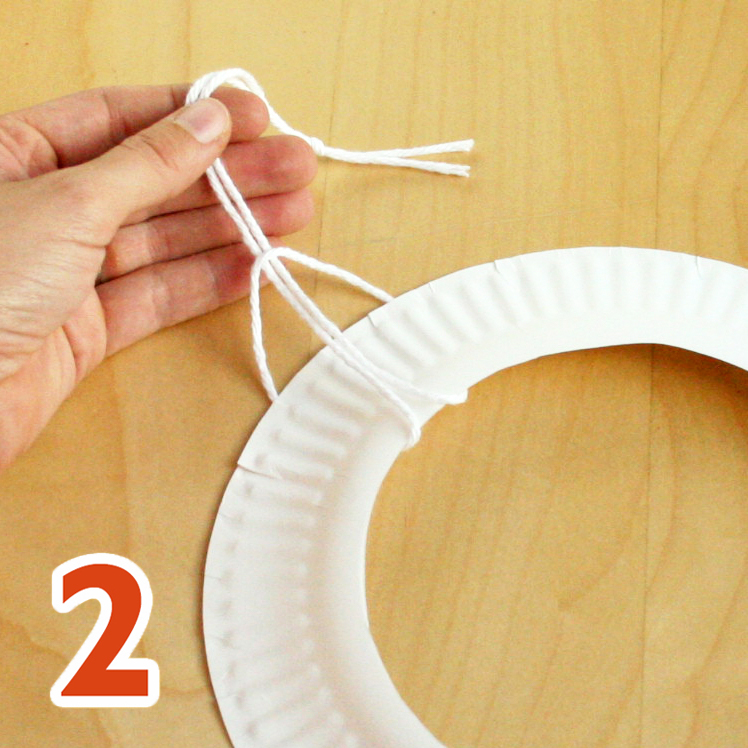
Cut a piece of string that is about one and a half feet long. Fold the string in half and tie the doubled-up string to the paper plate ring. Make sure that the string is sturdy enough to hold the wreath – you’ll be adding some weight onto it later.
Step 3 – Decorate:

Use small dots of glue to attach leaves, acorns or pine cones to your wreath. We recommend covering the entire ring with materials in various shapes and colors. Allow the glue to dry completely, and then hang your wreath!

Share With Us!
What are your favorite fall crafts and activities? Did you enjoy these craft ideas? Share your thoughts and creations with us on Facebook or Instagram using #mothergooseclub! We love getting crafty and celebrating with Mother Goose Club families around the world!


