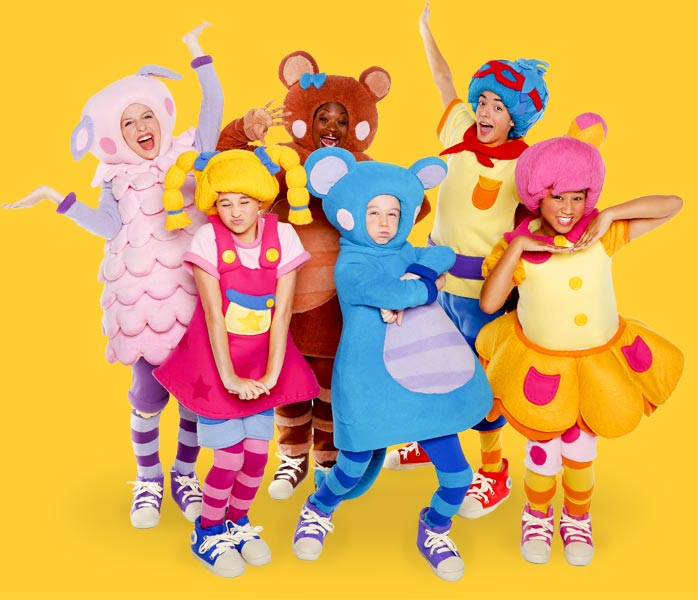
Is your child a fan of Mary Quite Contrary? Bring Mary to life with this simple and affordable costume craft! Costumes can elevate your child’s pretend-play and involving them in the crafting process has tons of benefits. Projects like this help develop problem-solving and fine motor skills, creativity, imagination and artistic expression in children of all ages.
While making costumes, you can talk to your child about following directions (including what steps come first, next and last), help them count materials and talk about shapes. If your child is an early reader, you can also practice reading and comprehension skills by having them help read the instructions below.
Crafting time is bonding time – encourage discussion, questions and artistic liberties along the way. Remember – your finished product will only last so long, but the memories you create crafting will last a lifetime. Making a DIY Mother Goose Club costume is a great activity for super-fan birthdays, Halloween or dress-up!
Materials:
All the materials you need are below. Most everything can be found around the house or at your local store. Get creative, improvise and let us know what works for you!

• Dark pink apron
• Light pink t-shirt
• Blue sweatpants
• Dark pink leggings
• Yellow yarn
• Headband
• Felt: blue, light yellow, dark yellow
• Pink duct tape
• Red fabric paint
• Sponge
• Thin cardboard
• Scissors
• Plate
• Marker
• Glue
Step 1 – Mary’s Apron:

Cut a star shape out of the thin cardboard. Lay the apron on a flat surface. Squeeze some red paint onto the plate. Use the cardboard stencil and sponge to paint star shapes onto the apron.
Step 2 – Apron Pockets and Buttons:

Cut a big pocket shape out of the light yellow felt, a pocket top out of the blue felt, and a star shape and 3 buttons out of the dark yellow felt. Be sure to leave some extra blue felt for Mary’s pigtails!
After the red paint is dry, glue the yellow pocket to the front of the apron, glue the blue pocket top onto that, glue one dark yellow button onto the blue pocket top, and glue the other two dark yellow buttons where the apron straps meet the top of the apron.
Step 3 – Mary’s Shorts:

Cut the bottoms off the blue sweatpants to make shorts leaving enough material to fold cuffs along the bottom of the cut-offs.
Step 4 – Mary’s Leggings:

Cut strips of pink duct tape. Wrap them around the dark pink leggings to make stripes leaving a gap at the back to allow your child’s legs to move freely.
Step 5 – Mary’s Hair:

Glue one end of the yellow yarn to an end of the headband. Don’t cut the yarn yet! Wrap the yarn around the headband all the way to the other end, gluing it down as needed. When the whole headband is covered, cut the yarn and glue down the new end.
Step 6 – Mary’s Pigtails:

Measure a four-foot long piece of yarn and cut. Using this piece as a guide, cut 20 more pieces that length. Make two piles of 10 – one pile for each pigtail. Next, measure a six-inch long piece of yarn. Cut seven more pieces that length.
To make one pigtail, fold 10 long pieces of yarn around one side of the headband. Make sure they’re all lined up. Tie each pigtail into four sections using the six-inch pieces starting as close to the headband as possible.
Repeat with the remaining yarn pieces on the other side of the headband!
Step 7 – Mary’s Bows:

With the remaining blue felt, cut out two bow shapes and two rectangles for hair ties. Glue one bow and one hair tie to each pigtail.
Wear It and Share It!
Once everything is dry and set, it’s time to get dressed up! Put on the leggings and the light pink shirt. Add the cut-off shorts and apron. The headband pigtails tops it all off!
Share your finished product on Facebook or Instagram using #mothergooseclub! We love getting crafty and celebrating with Mother Goose Club families around the world!
For a simpler, everyday look, you can also try Mother Goose Club t-shirts. Designed based on feedback from you, the fans, MGC t-shirts are stylish, soft, durable and parent-approved!


